Your privacy is important to us. We don't use third-party cookies or trackers and we don't store your personal information.


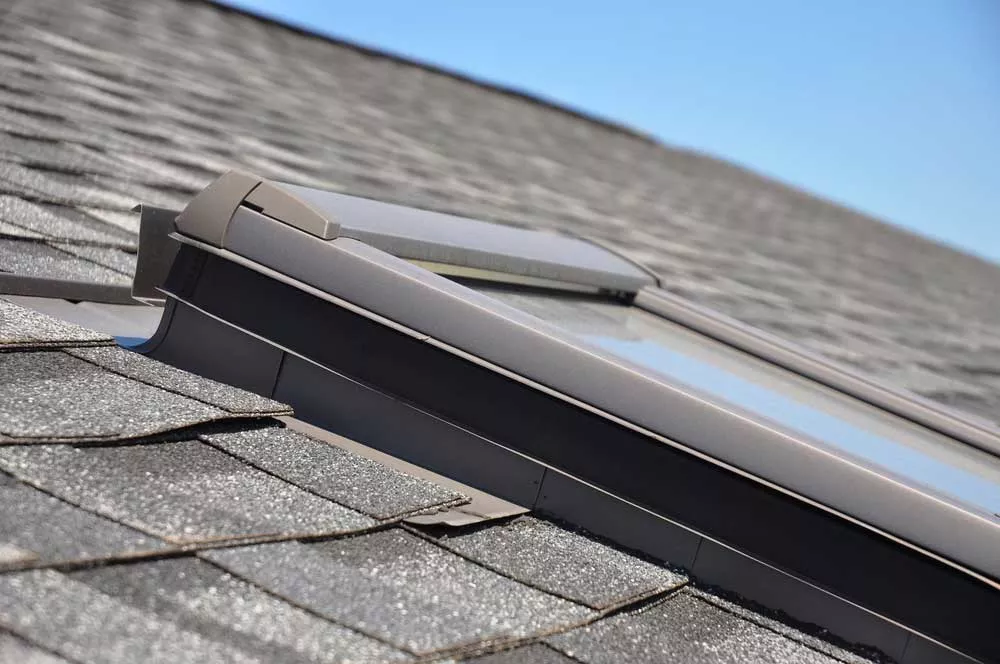


Installing a skylight is a great way to bring natural light into your home and improve its overall look. Not only will it add value to your property, but it will also create a more pleasant living environment. Skylights can also help reduce energy costs by bringing natural light into the home, thus reducing the need for electric lights during the day. However, there are also some potential downsides to installing a skylight, such as the cost of installation and the potential for leaks if not installed properly. In this guide, we will walk you through the steps of installing a skylight, from planning and preparation to final installation, with the help of detailed illustrations and diagrams, and added information on different types of skylights, tips on sealing and troubleshooting leaks, and a list of recommended tools and materials.
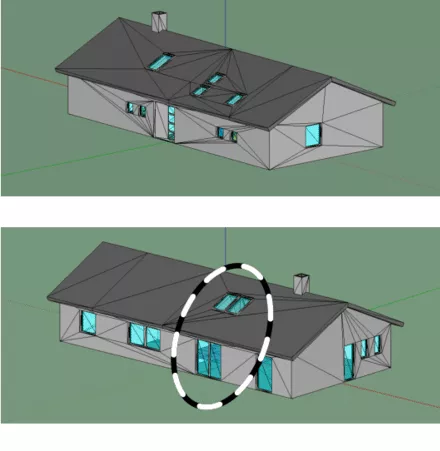
Step 1: Planning and Preparation
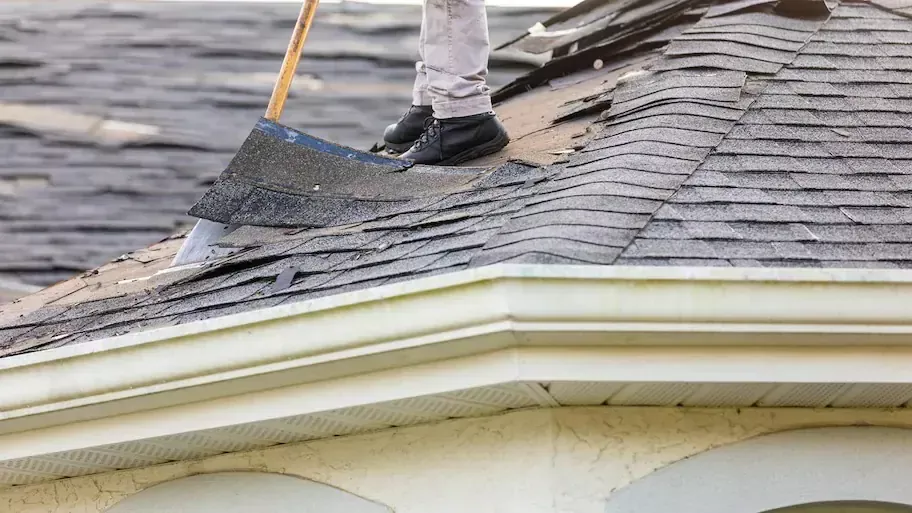
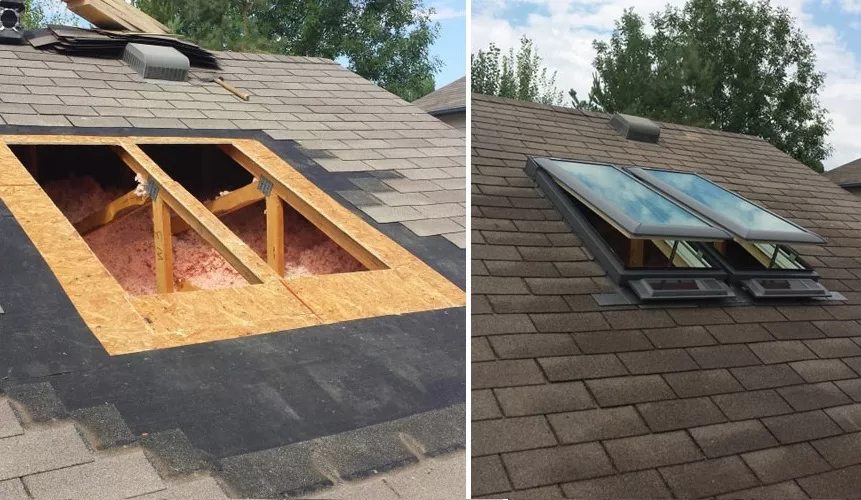
Step 2: Removing the Old Roofing Material
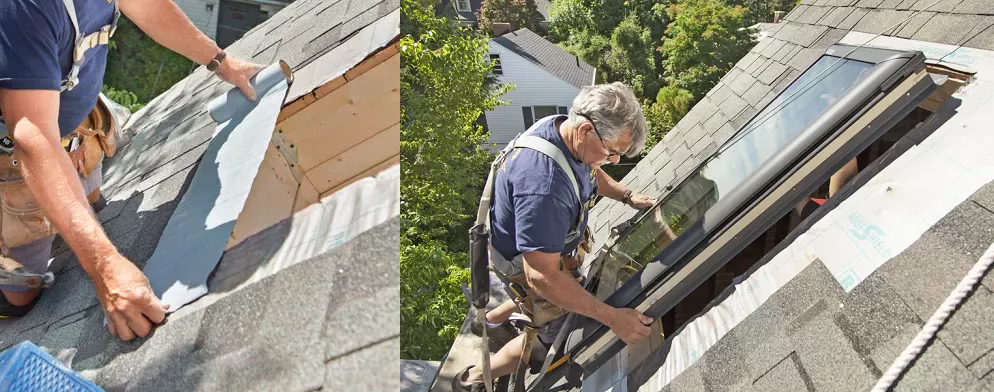
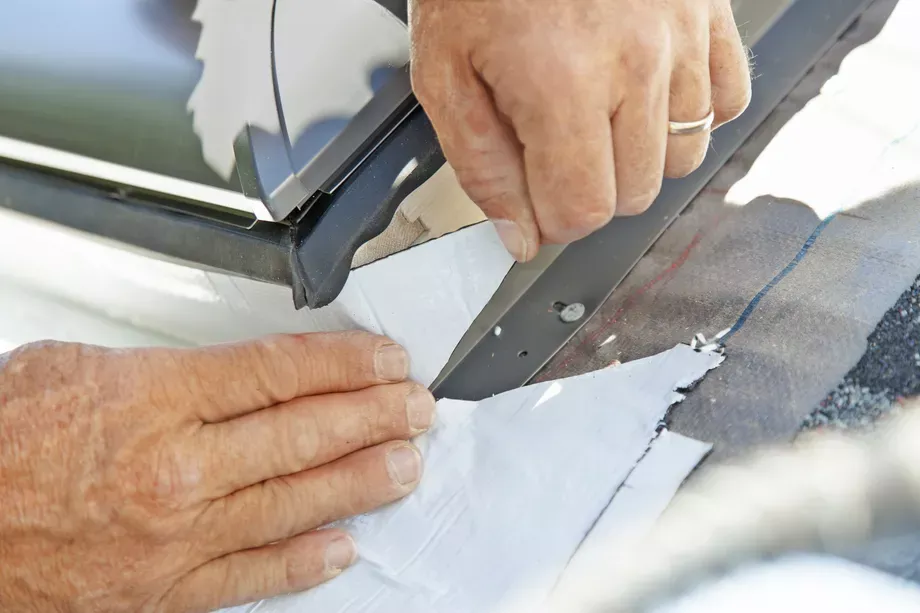
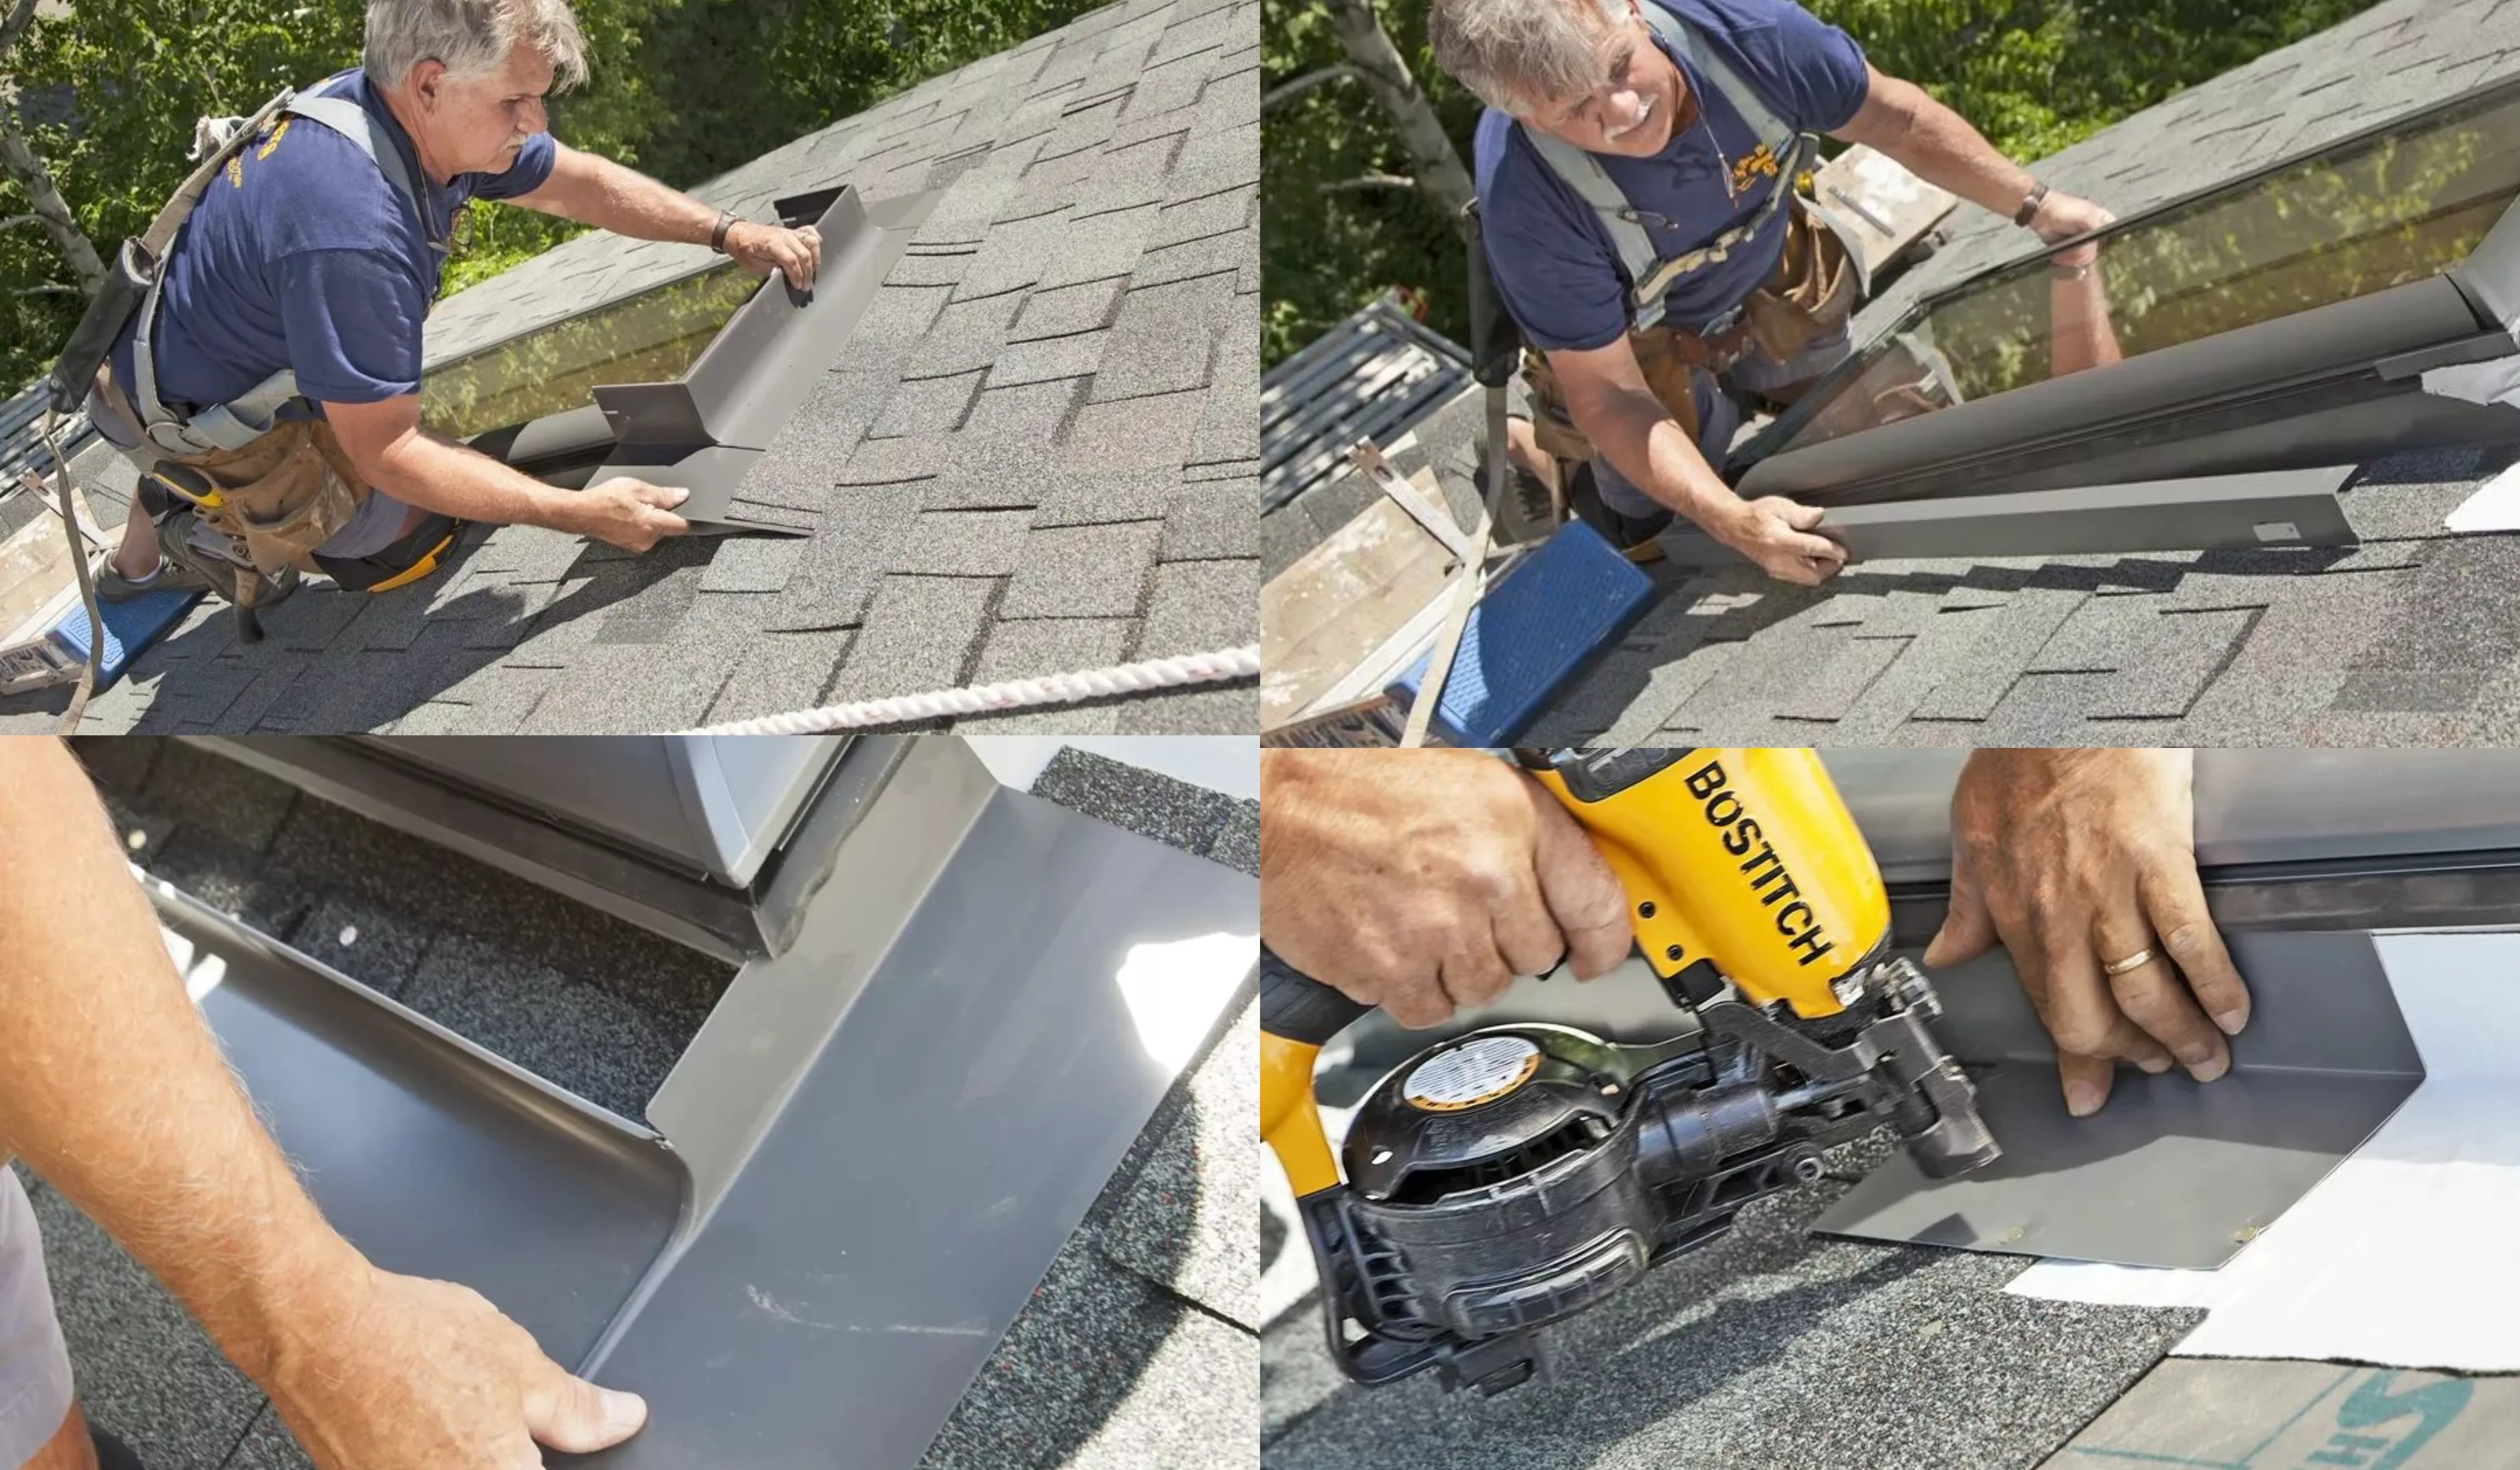
Step 3: Installing the Skylight
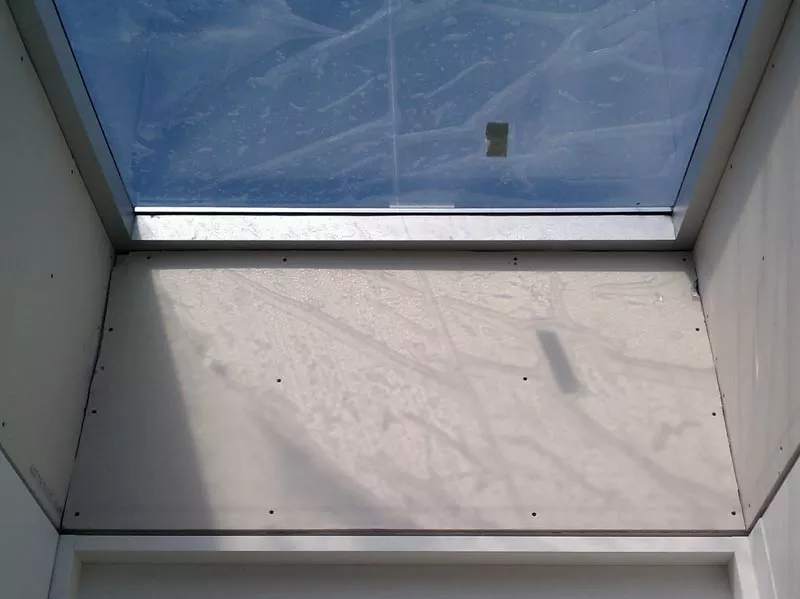
Step 4: Finishing the Interior

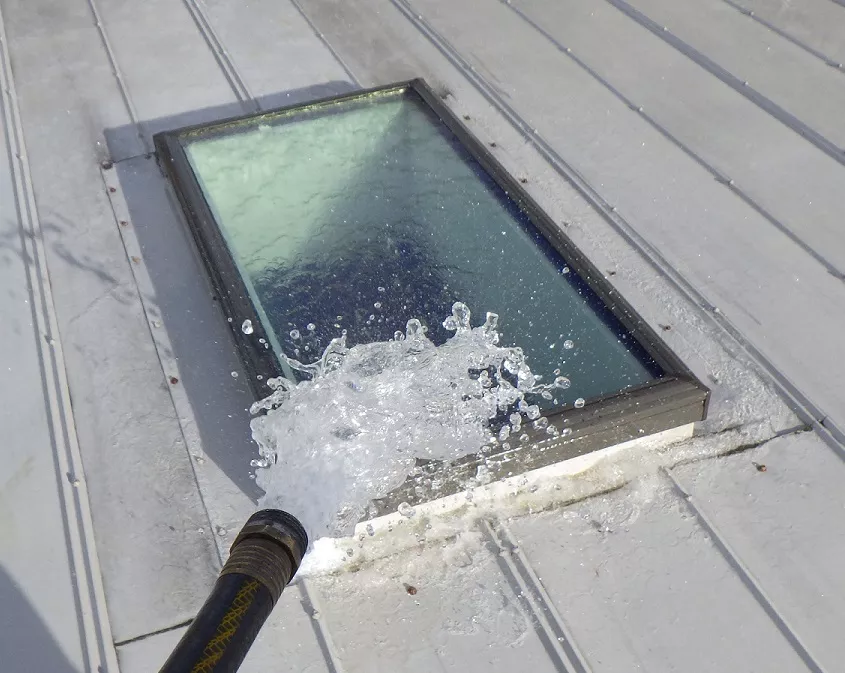
Step 5: Testing and Maintenance
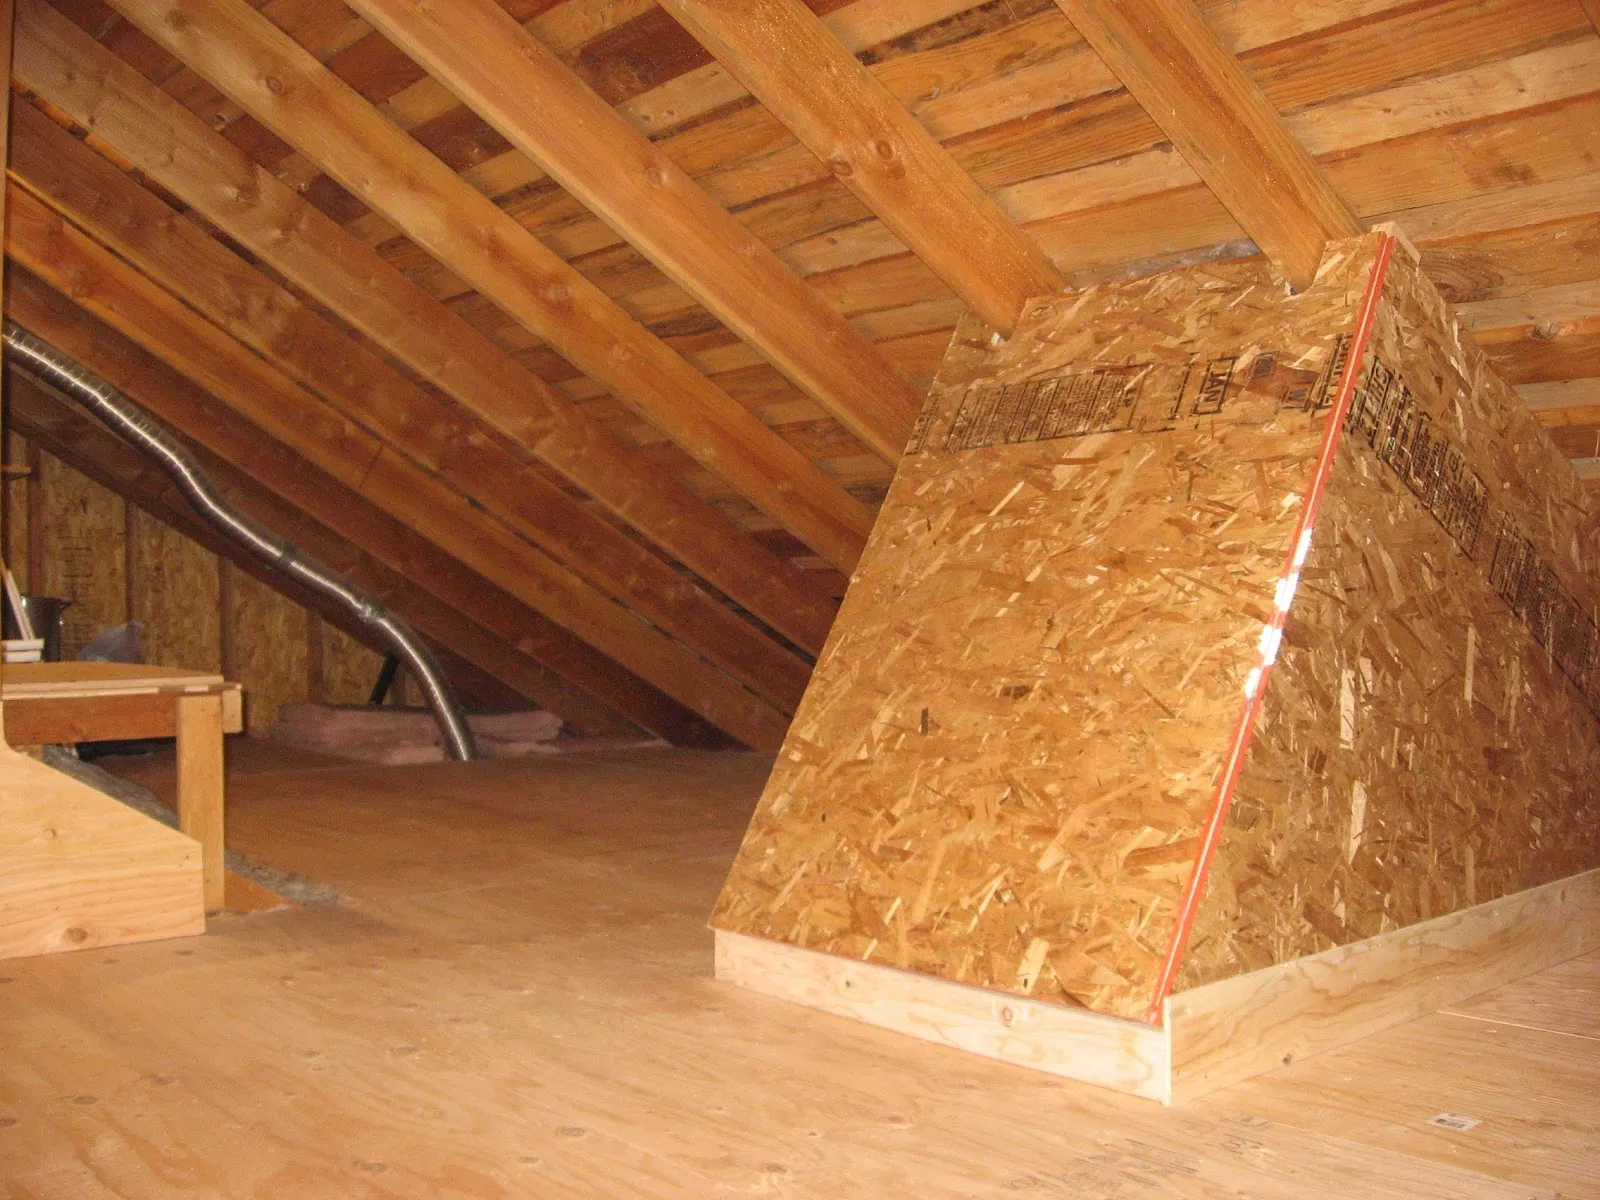
Step 6: Insulation
Step 7: Ventilation
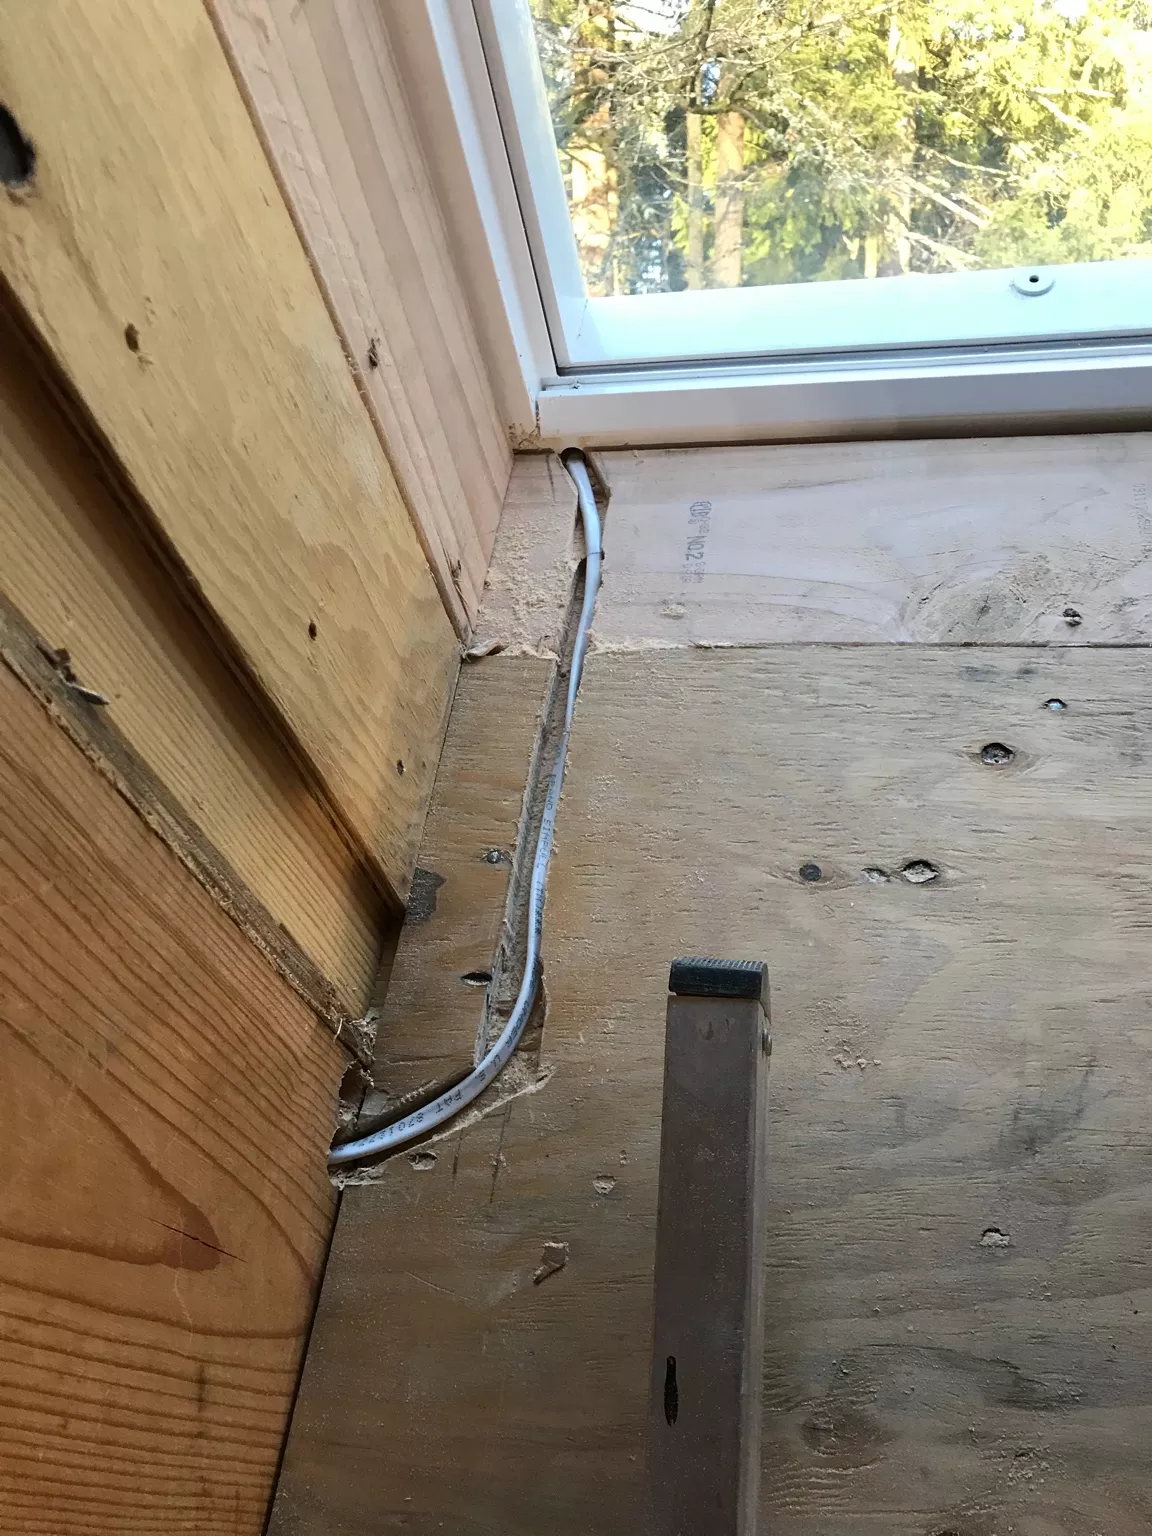
Step 8: Electric Wiring
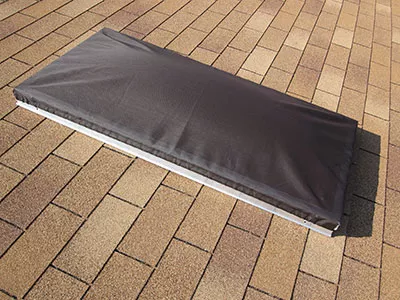
Step 9: Covering
Step 10: Safety
Step 11: Professional Inspection
Step 12: Cleaning
Installing a skylight can greatly improve the look and feel of your home, as well as its value. The addition of detailed illustrations and diagrams, information on different types of skylights available, tips on how to properly seal the skylight and flashing, information on how to repair leaks, and a list of recommended tools and materials makes the guide more comprehensive and easier for anyone to follow. Remember to always check with local building codes and get professional inspection before finalizing the project. It's also important to keep in mind that working on the roof can be dangerous, and if you're not comfortable with working at heights or with the tools and materials involved, it's best to hire a professional.