Your privacy is important to us. We don't use third-party cookies or trackers and we don't store your personal information.


One of the best ways to increase the value of your home and help keep it organized is to build a shed or workshop. This DIY project can be done with a few simple tools and supplies that are easily available at any home improvement store. Whether youâre looking for extra storage space or a designated area for DIY projects, a shed or workshop can be a great addition to any home. In this guide, weâll walk you through the steps of building a shed or workshop so you can be organized and prepared for any project. Itâs important to have the right tools, materials, and supplies for the job. Make sure you have a hammer, saw, drill, screwdriver, level, measuring tape, and a variety of screws, nails, and wood. Youâll also need shingles, siding, windows, and doors.
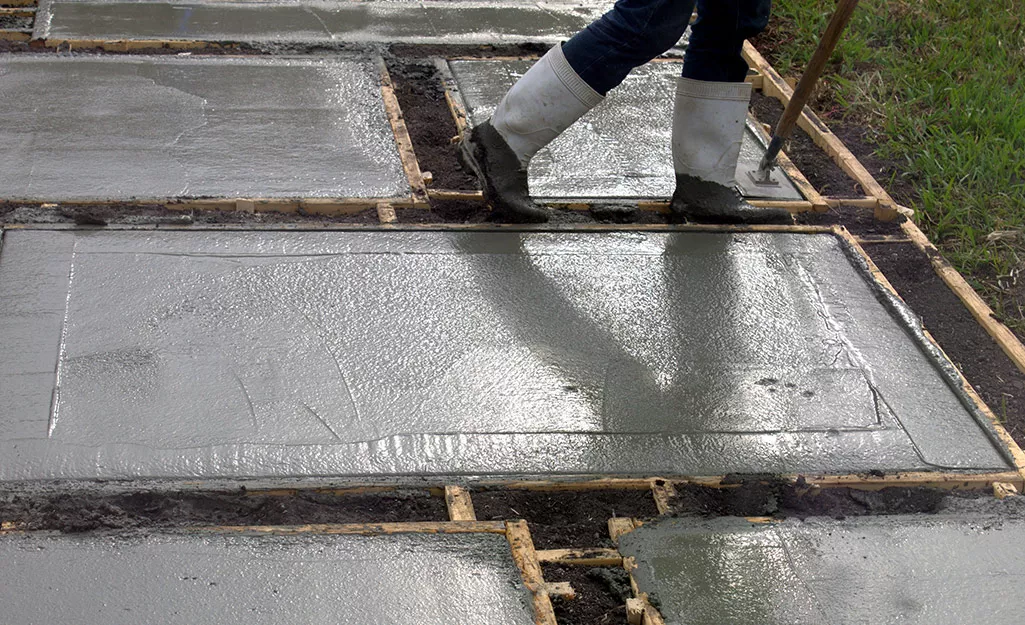
Knowing how to properly build the base of your shed or workshop is key to a successful project. Start by selecting an area with ample space for your shed or workshop. Make sure the area is level and clear of debris. Once the area is prepped, lay down a weed barrier and add a layer of gravel. This will provide a foundation for the shed and help with drainage.

Put together the frame of the shed, using your chosen material. Make sure the frame is level and square. Measure the space to ensure the frame fits correctly. Secure the frame to the ground with stakes and screws. Attach the floor boards to the frame, then add the walls and roof. Make sure each section is securely fastened and square.


Choose the windows and doors that best fit your shed or workshop. Measure the openings, cut the openings, then install the windows and doors. Make sure all the pieces are securely fastened and sealed. To increase the security of your shed or workshop, use a deadbolt, hinges, and latches.


Fill any gaps with caulk to ensure the shed or workshop is properly sealed. Add weather stripping to the windows and doors to make sure the shed or workshop is properly insulated.


Once the base, walls, and roof are in place, itâs time to add the finishing touches. Paint or stain the shed or workshop to protect it from the elements. Install shelves and hooks to increase storage space. Add potting benches and work benches to create a designated area for DIY projects.


Finally, add shelving, bins, and tool boxes to help keep tools and supplies organized. Install lighting, electrical outlets, and fans to make the shed or workshop more practical and comfortable.


Building a shed or workshop is a great DIY project to help increase the value of your home and stay organized. With the right tools and supplies, this project can be completed in a matter of days. Follow this guide, and youâll be ready to get organized and tackle any project.